Monday, 25 August 2025


NOBX project


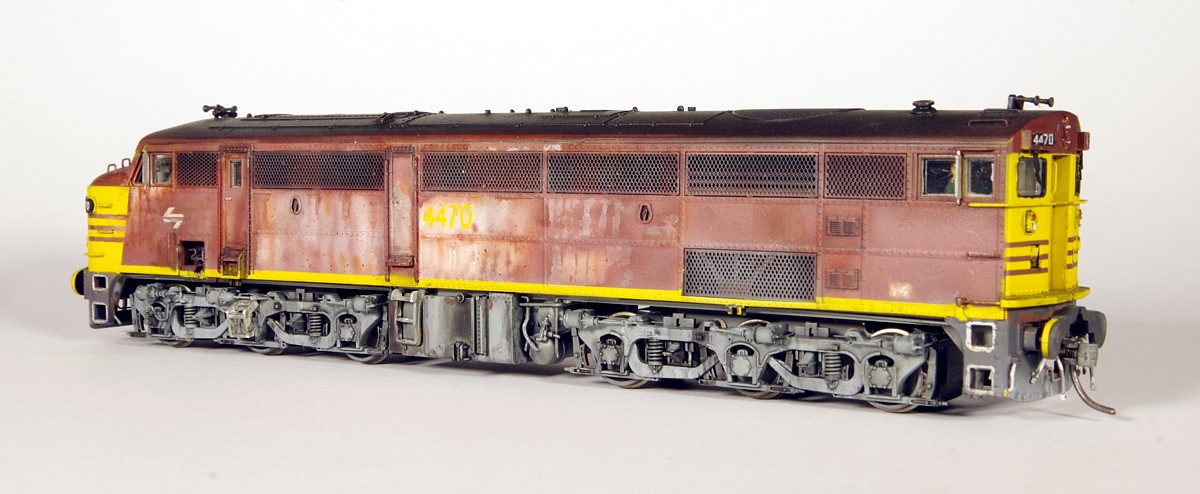
Hi everyone, it has been a while. I would like to present this NOBX project. Every so often, I get an idea in my head that I just have to see through. On my layout that is under construction I will have a small Container Terminal. It will be front and center. I want a motley collection of NSWR Container Wagons to service this yard. My Goal is to have them highly detailed and nicely weathered as a Center Piece for Photo's etc. I have a Number of AR Kits NOBX's built up as the first type, but I have been keen to add some of the second type. 

Around this time, Auscision had just released their representation of the Second Version of the NOBX. It stands on its own as a Reasonable Model. I think with a nice weathering and new bogies they would blend in OK with my small fleet of Detailed AR Kits Models at a distance. But in respect to the Container Yard, up close there is just too much difference for the modelling standard that I would like to show.

After putting some thought into my options, I took notice of the Metal Chassis that is fitted to the Auscision Model. I have always wanted to Model an NOBX with floorboards missing and this metal chassis gave a good base to start the project. This is the reasoning behind this Kitbash and Photos will probably explain the process better than words from here on in.  


Auscision verse AR Kits. I didn't like the half relief tie rails and the top Gunnel just didn't look right compared to the AR Kits version. I made the choice to used AR Kits Side and end panels for this project. 

First step was to cut out a piece of 5 Thou Styrene sheet to the same size of an AR Kits Floor 


I removed the Metal Chassis from the Auscison Model and most of the detailing parts

I glued the Chassis to the Styrene

I added styrene Strip around the floor section for better anchoring of the sides and ends

I added C section for the floor supports and Couplers

I then cut out the 5 Thou Styrene sheet to fully expose the Frame

I then sat it of Bogies to check heights before adding the sides

It took some time to fit the sides. I decided to remove the doors on this model to better highlight the chassis through the missing floorboards.

I reinstated all the Brake Gear as per the original model

I installed the original End Boards but thinned them with a File

I added Styrene Rod for the Tie Rails and details for Tarping Supports 

A bit of Primmer

Paint and Weathering with some Styrene 2x4's added

Only decals to go. I hate decals


Paint work to match this Prototype 


                                                      Will do some more one day

Thanks Justin Moy


Wednesday, 23 August 2023


On Track Models

ALGX Louvre Van 

My Thoughts on this new release


Hi Guy's

I recently treated myself to a pack of On Track Models ALGX Louvre Vans. I purchased pack ALGX-05 which is described as a Mid 70's-Mid 80's Pack. It contains 3 models Numbered ALGX35F, ALGX91G and ALGX131V at the cost of $240.00. The reason I chose this pack is that it contains a number from all 3 series of Vans. On Track Models states that there are only 2 series of these Vans, though from my research I have identified 3 variants. I will go into more detail as I go.

ALGX35F


Norm Bray Photograph

First of all, ALGX35F. All I can say is that On Track Models have nailed this Model. I really cannot fault this model. I have fitted mine with Bogies that better match Norm's Photo above. I will use this photo to weather my model. This represents the first series of Vans numbering from 1-57. These had the Pressed ends. The brake equipment arrangement was completely reversed from the other series of these vans with an upside-down Rachet Brake Handle on what you could call the long end of the Van. The end with 3 sets of Louvred Panels. OTM's have also done a real nice job on the Roof, with 13 Riveted Panels which is correct for the first 57 vans.

In years past Trainorama produced this First version of Van but the Brake Handle was on the short end and there were only 8 welded roof panels modeled. In Relation to detail these OTM's ALGX's are light years ahead.
under side arrangement.

Trainorama model on top

Trainorama model Left- OTM's right. The end Louvre Detail is Excellent and Correct. 

The only criticism that I have is that I am not a fan of the bogies that come with the models. I like to have uniformity in my bogies. I interchange bogies and wheel sets all the time. There were two types provided with these vans. They have finer scale wheel sets on them, but they come with two different axle lengths which seems strange to me. 
The bogie on the right I haven't come across a matching prototype photo of one of these.

They are quite different when viewed at this angle.

As a result, I have chosen to change my bogies out. I have always used AR Kits Bogies and some SEM Bogies due to the conformity. But now I mostly look at the range from SDS Models as they have taken conformity to a new level with their range. The thickness of the bogies, Axle Length, Bolster height and brake detail is uniform across the range just like the basic old AR Kits Bogies. For this reason, I don't usually keep bogies from any of the other Manufacturers like Auscision or OTM's. 

ALGX91G

My thoughts on this Van that is numbered in the second series of Van is that it is pretty good. All the equipment appears to be placed as it should be. Detail is excellent with all the latest refinements such as Wire Grabs and metal steps. Paintwork is good. Only issue with this model is that they have used the same roof as on the first version. In reality this Varient only has 8 Riveted roof panels. This is something that Trainorama got right with their model years ago. 

This is Trainorama's representation of the 2nd series Van with 8 welded roof panels instead of riveted panels.

Norm Bray Photograph
This photo shows clearly the 8 roof riveted roof panels.

Everything else appears to be in order with this model. Just the roof has 13 panels instead of 8.
The underside of ALGX91G. It has a brake arrangement placement very similar to the Victorian VBBX/VLCX family of Vans.

ALGX131V

This Van is a numbered in what would be a 3rd Series of the LX/ALGX Van. OTM's have provided this model with the same detail as the second series of Van. In Reality these Vans are very different. I am not sure at what number the second series ends and the 3rd series start. From Photos that I have studied, the earliest 3rd series Van I have noted is 129. So at least 129 to 157 are 3rd series. If I was to guess I would say they made 50 of each, but I really don't know?
What is different?
The roof is the main difference. It has 11 roof panels like the VLCX. They also maybe welded on and not riveted, but I am not sure. I believe this because the roof has no over-hangs like the other series vans. These have a Brake Wheel on the end instead of a Rachet Handle. The Brake equipment is set out a little differently as well. 

Norm Bray Photograph of ALGX135

Please not the Brake Wheel and no Over-Hangs on the roof. It is hard to tell from this photo but there are only 11 roof panels. 

Norm Bray Photograph of ALGX135
  
This is the Brake arrangement as it came

This is after I rearranged the gear after a study of Photographs.

Brake wheel Detail.

I hope to tackle the roof soon on this one and 91G. It didn't take long to move around the brake gear and add the Brake Wheel to this one. The only detail that I probably will not attend to maybe the internal roof supports. On the inside it is all set out to support the 13 panels. I would assume that this would change with the 8 panel version and 11 panel version. that would be getting real fussy!

Not sure who took this photo, I have just taken a crop from it. LX139. You can see the position of the Air Tank in this photo. 

Comparison with an OTM's VLCX Van. Roof Profiles vary a little, but the ALGX profile looks pretty good when comparing to photos. Just on a side note, the VLCX pictured here is the earlier series with the timber floor. OTM's didn't include any of these in their latest run of their Victorian Vans. So I am glad that I have a few.

All three under-floor arrangements.

Norm Bray Photograph 2nd Series brake end.
It is coupled to a 3rd Series Van. Note the difference with no over-hang and no visible Rivets? 

As a summary
It is a nice model

The detail nicely matches up with OTM's Victorian Louvre Van Range. Interior detail with the opening doors is great. The underfloor detail is done well. The fussy Modelers out there would of like some more pipe work but there are always limiting factors such as cost. I would imagine that producing 3 different roofs would of blown out the cost. But if you want to do something extra to make these models stand out, there can be some modeling to be had.

As this is a Louvre Van that I have researched for my own benefit to detail up the Trainorama Model, I thought it would be a good idea to share my knowledge on this subject. These Vans were common up the North Coast Line in the 80's. The early 90's they were a little harder to find. I will not be continuing with the detailing of my Trainorama Models and these are a fine replacement and will work in well on my layout. 


David Porter Photo

Thanks Justin Moy


Saturday, 19 August 2023

44 class Loco's


Auscision 4402 all weathered up


I got my hands on an Auscision 44 class Loco. I am not going to review it as such. It is done pretty well. The underframe detail really looks the part. the paint finish is good. If I was going to be critical, I would say the quality of the tool making is not up to the usual Auscision Standards. Some of the fine detail is missing from the MU couplings. Some of the bolts on the rear highlight casing are misaligned. The nose door is not very well defined. The steps on the side of the fuel tank are not quite right. The nose windscreens and the roof profile above the windscreens is not quite right. It is really a small list of Criticism when compared to the Trainorama Model. I am happy with the model, it is a good buy. It runs well and the DCC sound is reasonable.  


Trainorama 4470 with added detail.

With the new chassis and added detail

Before the new chassis


Once I had my Auscision 44 class loco to play with I quickly compared it to my Trainorama models. They were first produced nearly 20 years ago. I looked at what it might take to make the Traino Model compare a little more to the Auscision Model. I decided to tackle some of the obvious differences. The ride height of the loco was lowered buy 0.6mm. I took that off the chassis bogie pivot points. I widened and raised the fuel tank and added chassis rails and framework behind the Pilots. I added some pipe work around the fuel tank as well. There was a lot more that could be done. Maybe one day, I will add the lift rings on the roof? 

This has all been done to one of the newer run 44 class Chassis from Trainorama. These are fitted with 21 pin PCB Boards and much more friendly to adding DCC and Sound. I will drill out the marker lights one day when I source some Optical Fiber to use. Since getting into DCC I have lifted my standard of modeling. I will not have masses of Loco's going into the future. Sound fitted Loco's are mostly over $400 to purchase today. I am going to put a lot more effort into making what I have, run well and look and sound good. 


Cheers Justin Moy